Tilting Solar Panel
This is a How I did it Page, not a how too Page. I hope by sharing this info, it will help other with ideas to build their custom system.
Evolution of the Custom Tilt Device

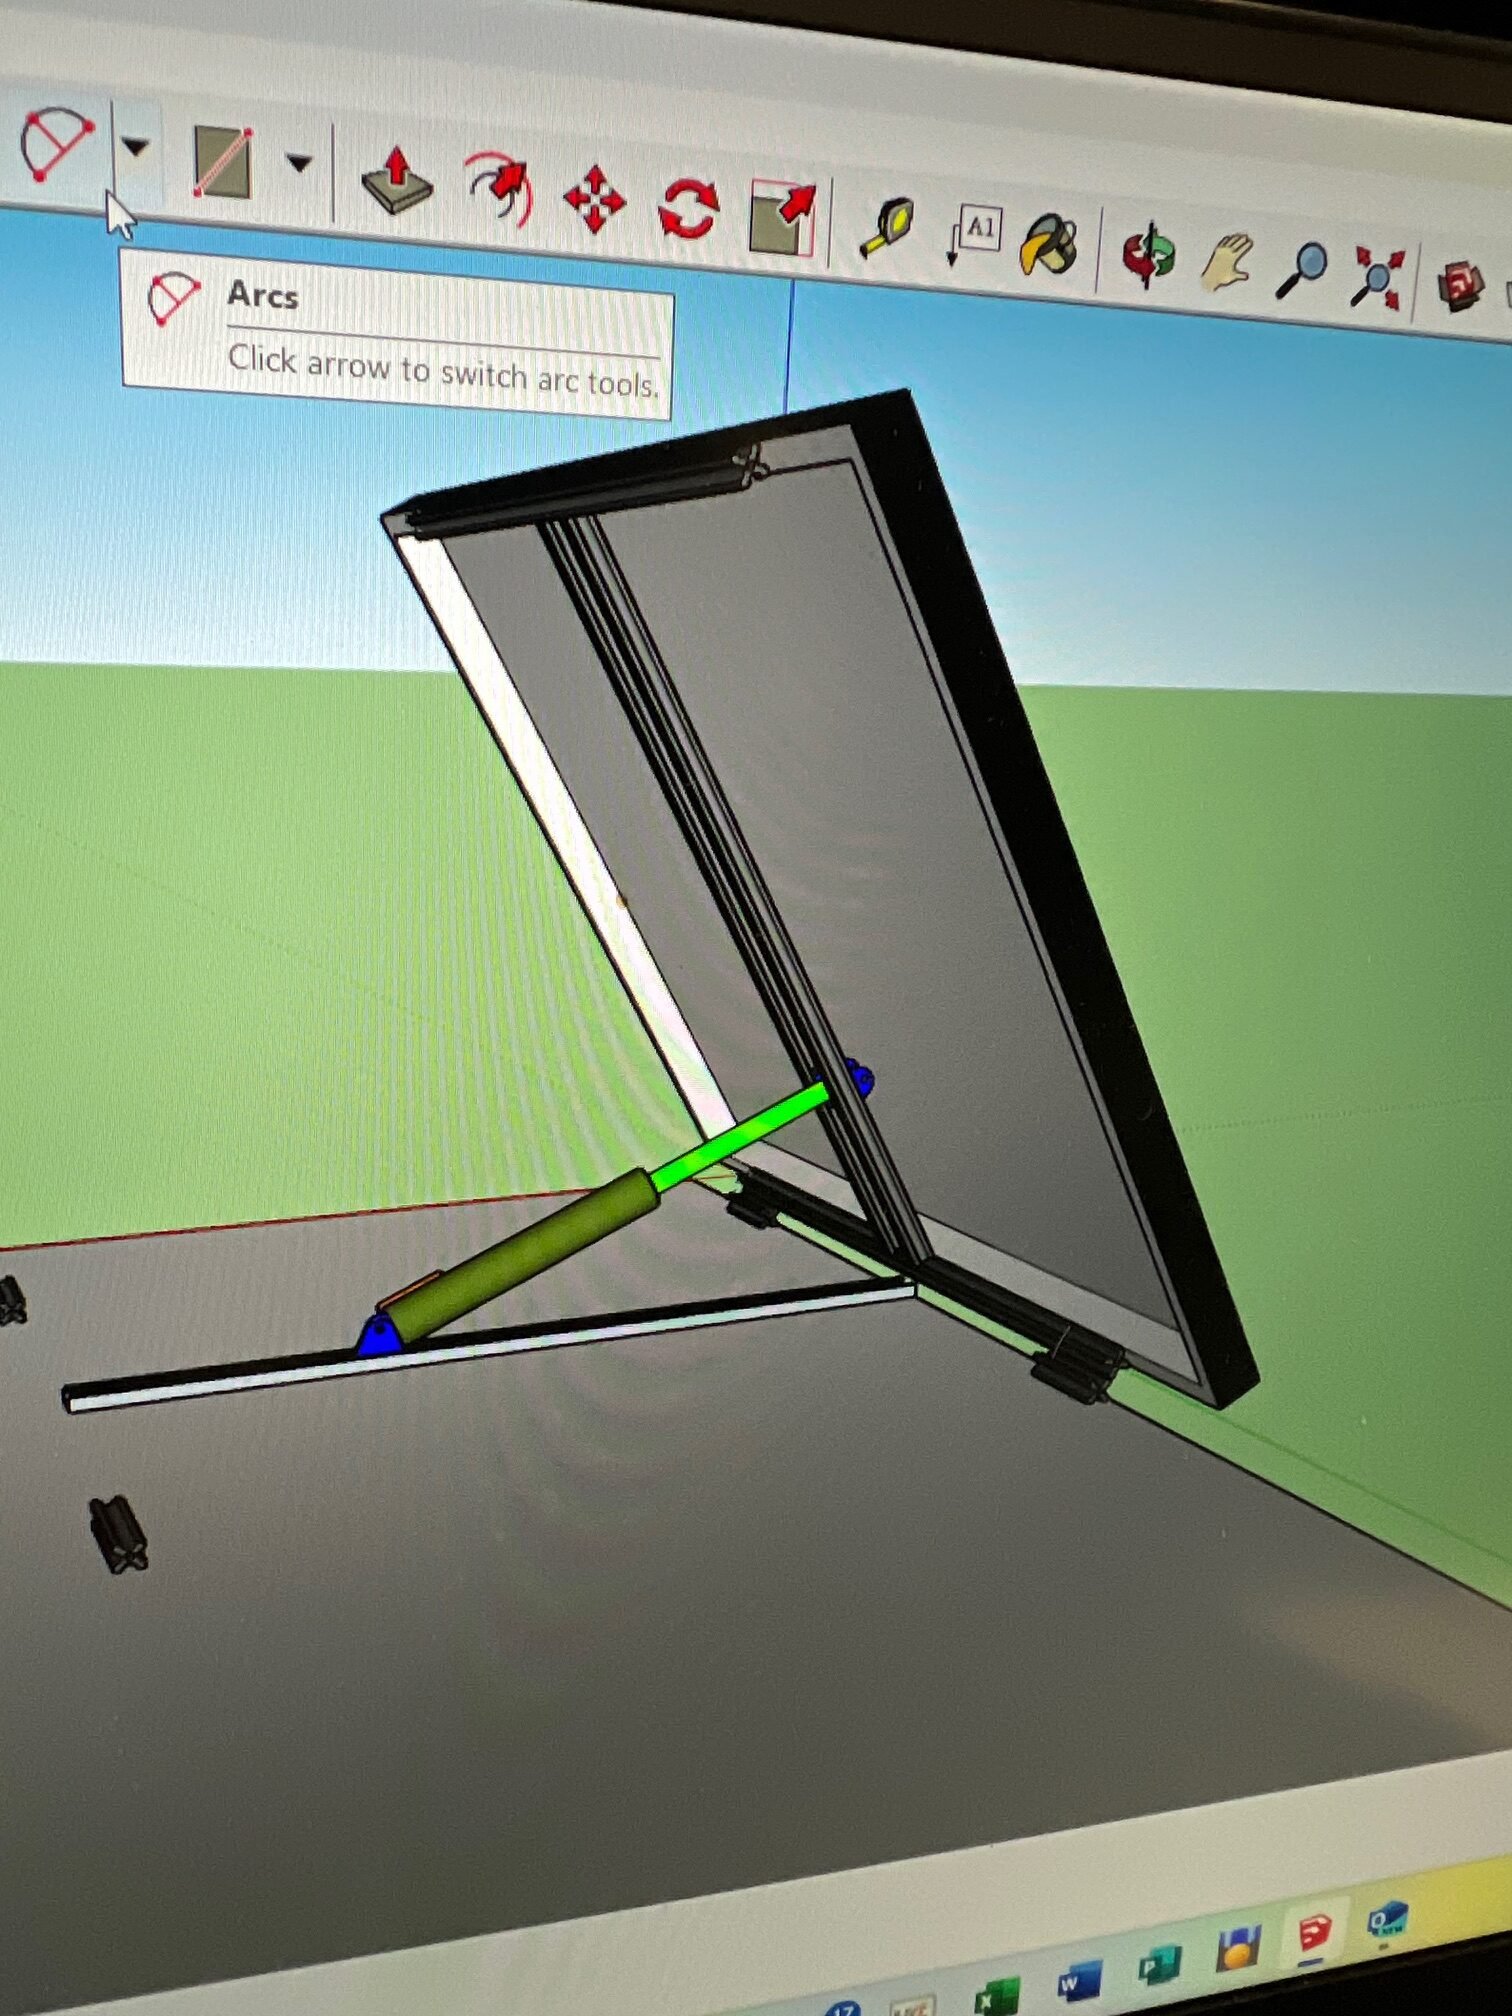
Design Phase
After watching a YouTube video that featured a tilting Solar Panel device, I went to work planning.

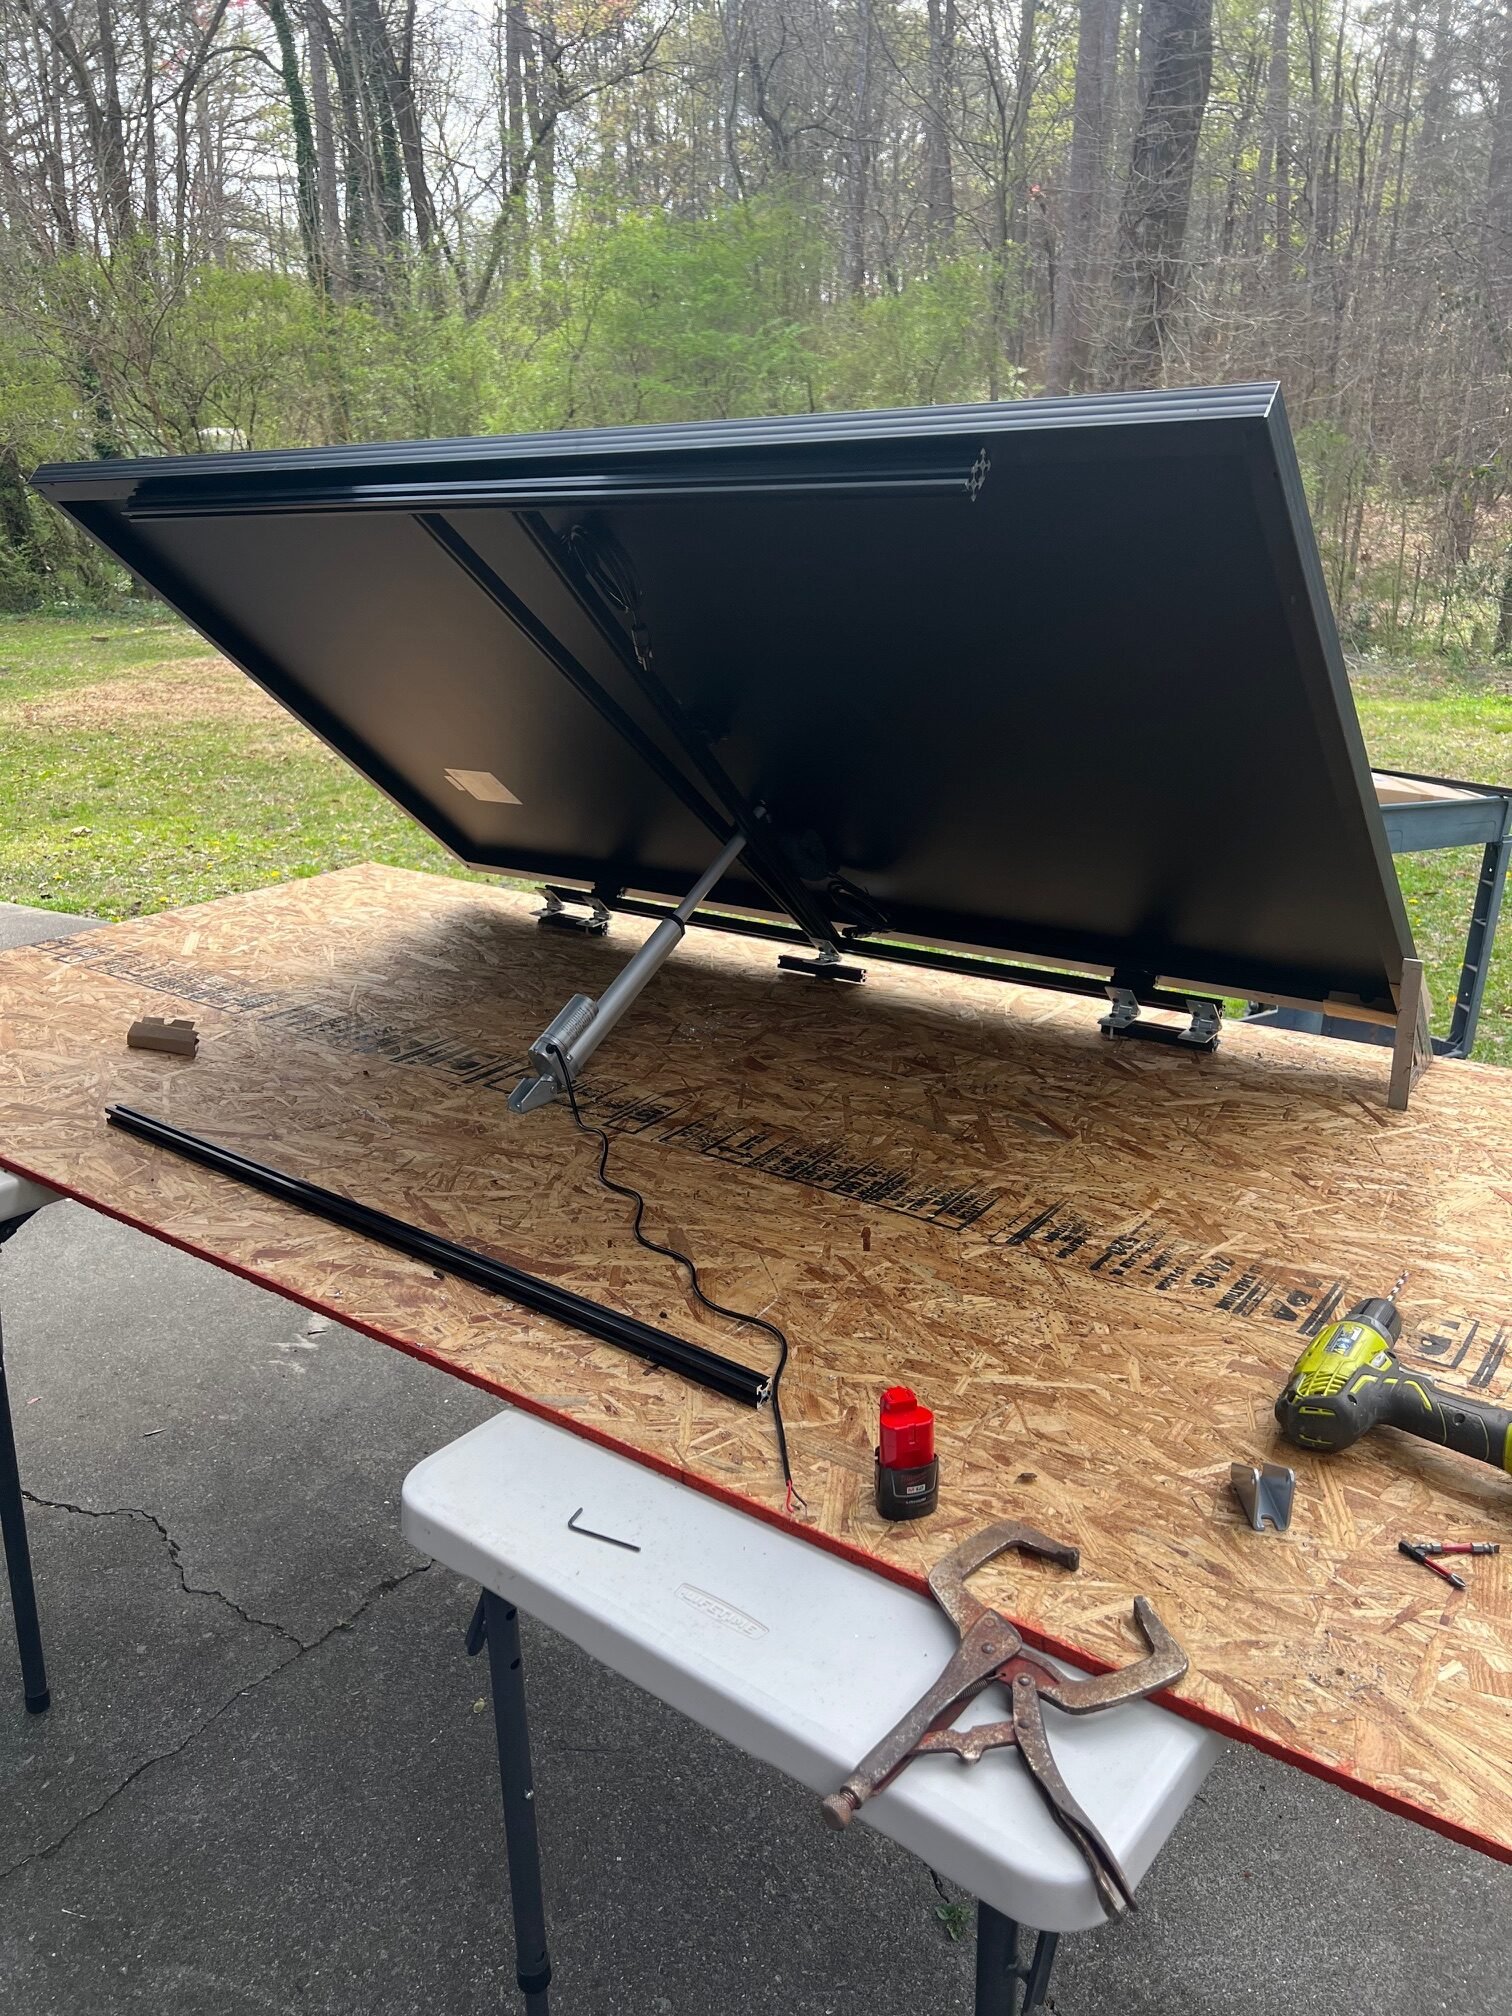
R&D Phase. Bench Testing.
After a few failures on the test bench, we found the dimensions and angle for the actuator, and framing requirements. We also learned the pressure on the actuator was too high to attach this to the RV Roof. A Unistrut channel solved this issue by applying the load to the Unistrut channel and not the fasteners.

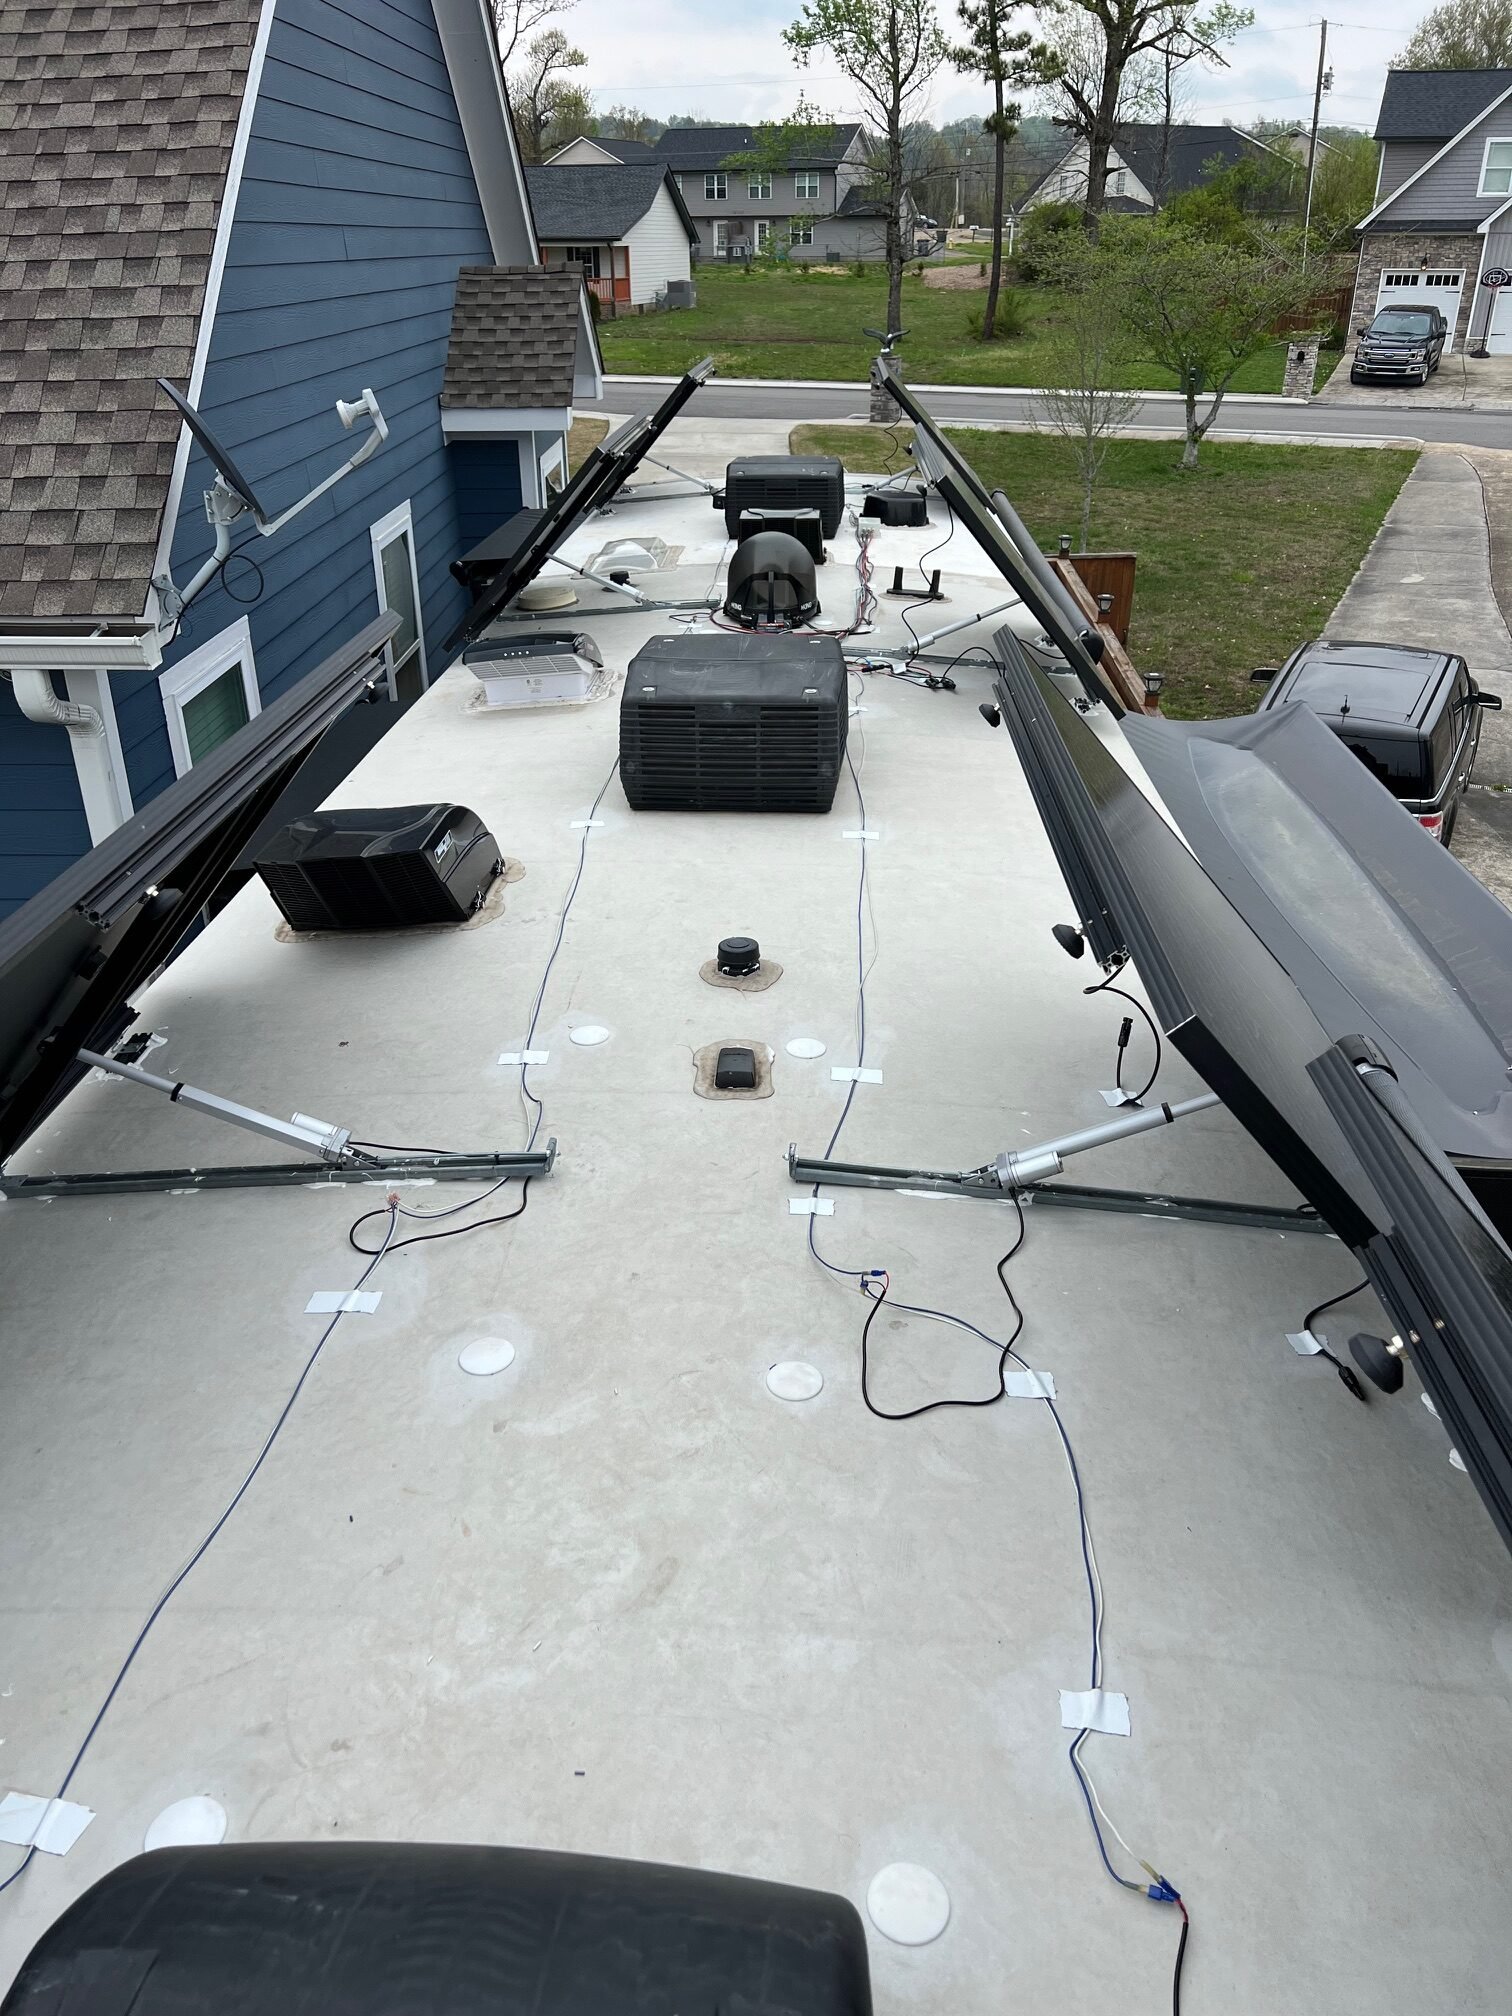
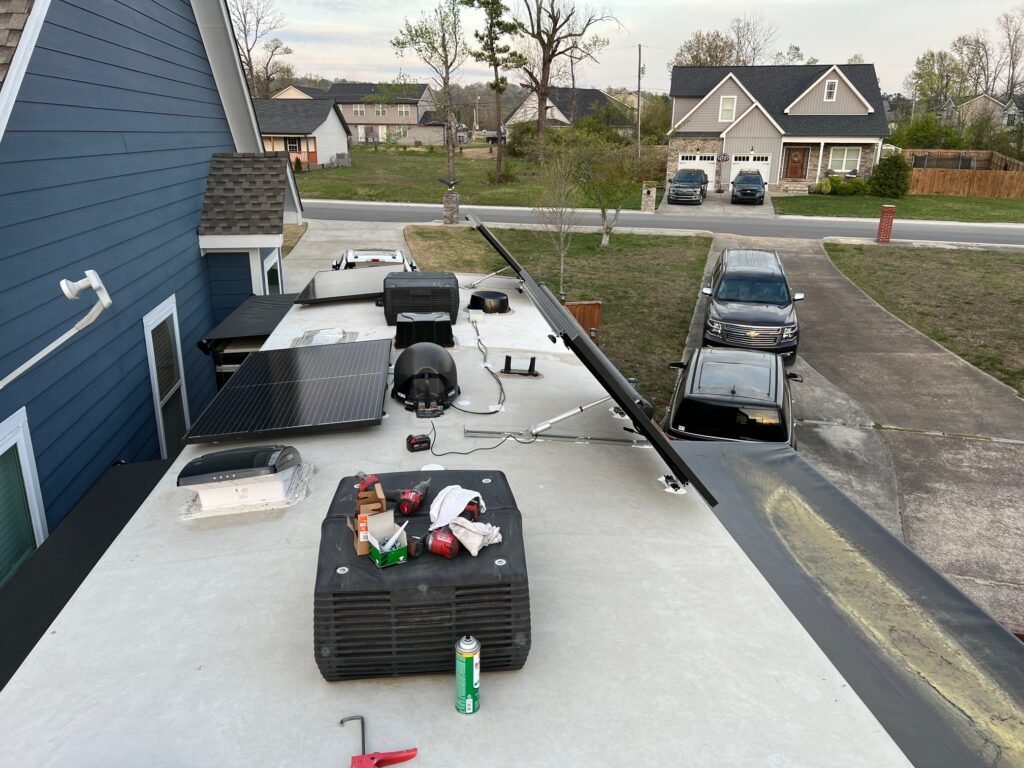
Installation and additional features
Once we completed the bench testing it became clear the panels needed a safety latch. This was accomplished by allowing the actuator to slide on its lower mount, thus actuating our latch.
We also welded the center hinge and modified hinge that serves as our latch.
This is the final mock-up before fabricating 8 of these.
Weight of tilt frame complete with actuator was 15 pounds.


